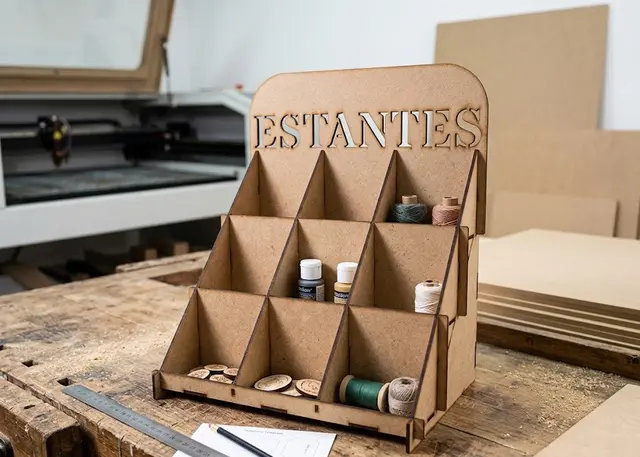
Stepped display stand Pro
Stepped shelves for a counter: risers that close off each step, one-piece dividers and a sign on top.
Risers closing off each step, one-piece staircase dividers half-lapped in place, and the sign on top.
How it goes together
It goes in this order and no other. First the shelves between the two sides: they have through tabs that finish flush on the outside, so they go in sideways. Then the risers, which drop in from above and half-lap into the edge of each side. And finally the dividers, which drop in the same way, over the risers. Everything slots together: glue is optional.
The ears on the risers are not decoration. What sticks out past the sides is the half of the crossing that stays on the outside: without it there would be no half lap, just a notch open to the air. For the same reason the side stands proud of the first riser and behind the sign, so neither of those slots opens onto the edge.
The riser is not a lip, it is the step’s whole face. It runs from the shelf below up past the one above, so as well as stopping things sliding off it closes the back of the compartment in front. That is why the unit looks solid from the front and needs no back panel: the back of each compartment is the face of the next step, and the last one is the sign.
Each divider is ONE piece, shaped like a staircase. It is not a little triangle per compartment: the same piece runs through every level, its top following the slope and its underside stepping down onto each shelf. Cut in bits you would have to glue every one and none would come out square. With 3 columns you cut 2 dividers.
The slope is not chosen, it falls out of the step and the depth. Each shelf rises by the step height and moves back by the depth, so the tips of every riser land on one straight line: that line is the edge of the sides and the top of the dividers. If you want the unit more upright, raise the step or reduce the depth.
The step has to be taller than what you display. That is the whole point of the unit: if the product in front is taller than the step, it hides the one behind and you are back to an ordinary shelf.
The sign is the rearmost panel, the one closing the last compartment, and it carries on upwards by however much you ask. The text goes on three ways. Engraved reads up close and does not touch the piece. Cut out goes through and you see the background behind, but it leaves the centres of the closed letters loose — it tells you how many — and weakens the panel. Glued on reads best from a distance: the letters are cut separately, in whatever wood you like, and go on in relief; the sign comes with their outline engraved as a guide for gluing them straight, and if the text runs past the panel, the panel grows to receive it.
Glued letters do not drop below the edge of the unit. They stand one thickness proud of the front face of the sign, and against that same face the dividers land: that is why they go on the part that sticks up. If the sign is low or you ask for very large letters, it warns you with the measurement.
The bottom shelf sits raised. The sides carry on down to the table and so do the dividers: they pass through it at two points and reach the surface, so both things lift the base. If the divider stopped at the shelf, that shelf would hang from its two ends alone and would bow under weight in the middle.
Measure the thickness with a caliper. 3 mm MDF usually measures 2.7. Every slot is cut to whatever you enter: with the nominal figure on the label, the tabs rattle and the unit comes out loose.
Frequently asked questions
Stepped display stand: what size can it be?
Every measurement is typed in millimetres and the drawing is redone as you type: width, from 60 to 1200 mm, shelf depth, from 30 to 400 mm and step height, from 20 to 400 mm. Everything else — joints, dividers, holes — is worked out from those measurements.
Does it work for MDF, acrylic or plywood?
For any sheet your laser can cut: MDF, plywood, acrylic or thick card. What matters is the thickness, adjustable from 1 to 20 mm, and the kerf — what the beam eats away: the joints are drawn from those two numbers, so they push together without sanding.
What format does it download in?
SVG or DXF, your choice, in millimetres and at 1:1 scale. It opens as is in LightBurn, RDWorks, LaserGRBL, Inkscape, Illustrator or CorelDRAW, with nothing to scale or convert. Cutting and engraving come on separate named layers — “Cut” in red and “Engrave” in blue — so you set the power for each without separating anything by hand.
Do I have to pay to use it?
Stepped display stand is free to use and adjust: you can see exactly how your design will come out before deciding anything. Downloading the file needs the Pro plan, or one of the trial downloads that come with the free account.
Others you might need
-
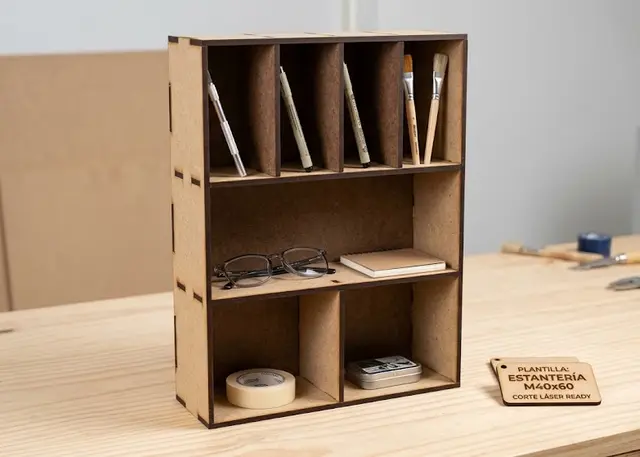 Shelving unit A made-to-measure shelving unit: you pick how many shelves, how tall each one is and how many bays it splits into.
 -
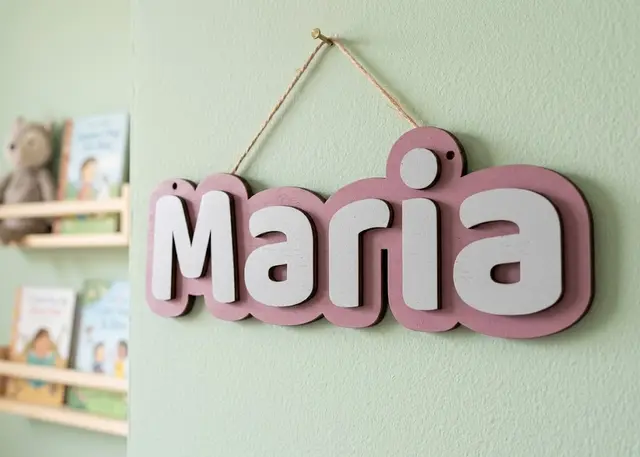 Door name sign A name to hang on a door: a one-piece backing and every letter loose, so you can paint each one a different colour.
 -
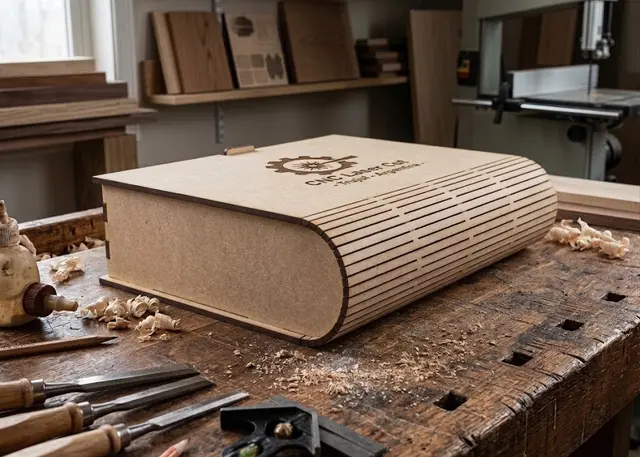 Book box A box shaped like a book: cover, curved spine and back in one piece, a tray with dividers and a wooden or magnetic catch.