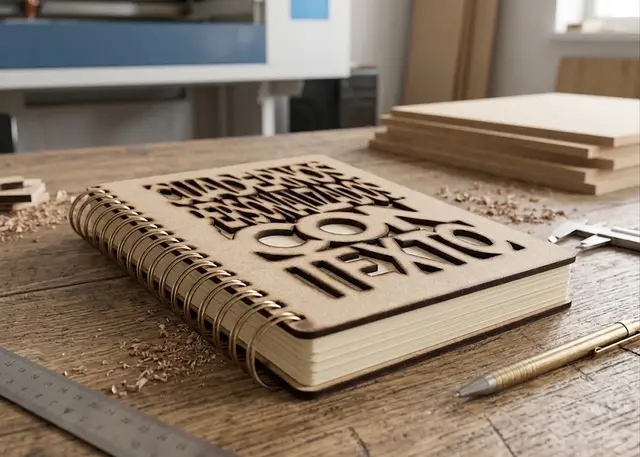
Notebook cover Pro
Front and back covers for wire-o binding, with the 3:1 or 2:1 punching at its exact pitch.
A4, B5, A5, A6 or custom, with the binding pitch worked out in inches and the row of punches centred.
The punching
The pitch comes in inches and here it comes out exact. 3:1 is three punches per inch — 8.4667 mm — and 2:1, two — 12.7. They are worked out by dividing 25.4 rather than using the rounded 8.47: on an A4 thirty-four pitches accumulate, and there the hundredth shows. An A4 gives 34 punches at 3:1 and 23 at 2:1, which is exactly what the trade table says.
The row is centred. The pitches that fit are counted leaving clearance at both ends, and then the remainder is split between the two: starting from the top, the whole remainder ends up at the bottom and the notebook looks crooked.
Coil or wire-o, and each with its own punch. The plastic coil is 4:1 — 6.35 mm — and goes in by turning, so it wants a round hole. Wire-o, the twin loop wire, is 3:1 or 2:1 and its punch makes a square hole: 4 × 4 mm at 3:1 and 6 × 5 at 2:1. They are two separate controls on purpose, so you can cut with whichever shape suits your machine. It has to match your punch and your wire. 3:1 handles up to about 120 sheets; 2:1 takes a heavier loop, for thick notebooks.
The covers
They come out bigger than the page. That is what protects the paper: if they measured the same, any knock on the edge reaches it directly. 2 or 3 mm per side is enough.
The text goes on four ways. Engraved marks without going through. Cut out lets light through the letters, but releases the centres of the "o" and the "a" — it tells you how many. Glued on cuts them separately, to make them in another wood or in acrylic, and the cover comes with the outline engraved so you can glue them straight.
And negative is the one that solves cut-through text. Everything is cut out EXCEPT the letters: you get a window with the name inside, held by the frame, and nothing falls out. The letters stretch until they touch the frame — that is what holds them — so their height is not something you choose; what you choose is how much cover is left around them. The dots on the i’s and the accents sit apart vertically and still come out loose: the template tells you how many there are so you can glue them by hand.
The text does not intrude on the binding strip, so there is no measuring where it ends: it fits itself into whatever is left. And unlike a sign, here it cannot grow the piece: the cover has to keep measuring what the page measures, so it adjusts to what there is.
Careful with very rounded corners. If the curve eats the first punch, it opens onto the edge and stops holding: the template tells you how many ended up like that.
Frequently asked questions
Notebook cover: what size can it be?
Every measurement is typed in millimetres and the drawing is redone as you type: overhang, from 0 to 30 mm, corners, from 0 to 80 mm and edge to centre, from 2 to 40 mm. Everything else — joints, dividers, holes — is worked out from those measurements.
Does it work for MDF, acrylic or plywood?
For any sheet your laser can cut: MDF, plywood, acrylic or thick card. What matters is the thickness, adjustable from 0.5 to 12 mm, and the kerf — what the beam eats away: the joints are drawn from those two numbers, so they push together without sanding.
What format does it download in?
SVG or DXF, your choice, in millimetres and at 1:1 scale. It opens as is in LightBurn, RDWorks, LaserGRBL, Inkscape, Illustrator or CorelDRAW, with nothing to scale or convert. Cutting and engraving come on separate named layers — “Cut” in red and “Engrave” in blue — so you set the power for each without separating anything by hand.
Do I have to pay to use it?
Notebook cover is free to use and adjust: you can see exactly how your design will come out before deciding anything. Downloading the file needs the Pro plan, or one of the trial downloads that come with the free account.
Others you might need
-
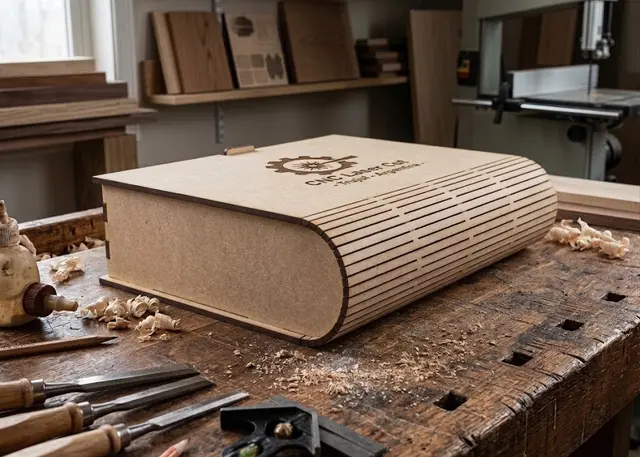 Book box A box shaped like a book: cover, curved spine and back in one piece, a tray with dividers and a wooden or magnetic catch.
 -
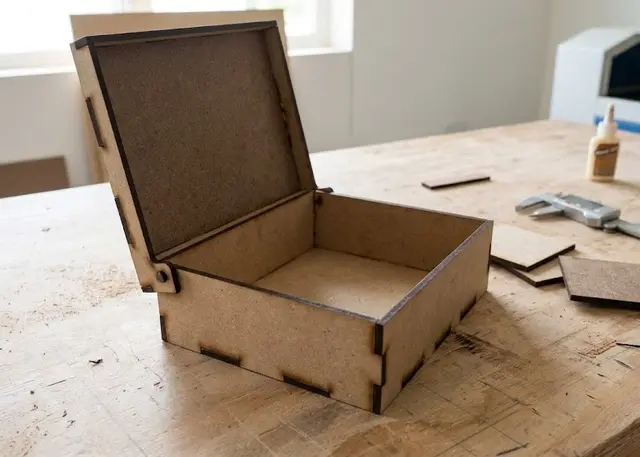 Hinged lid box A box whose lid pivots on a wooden pin and stays open by itself, with no hardware: the pin is cut from the same sheet.
 -
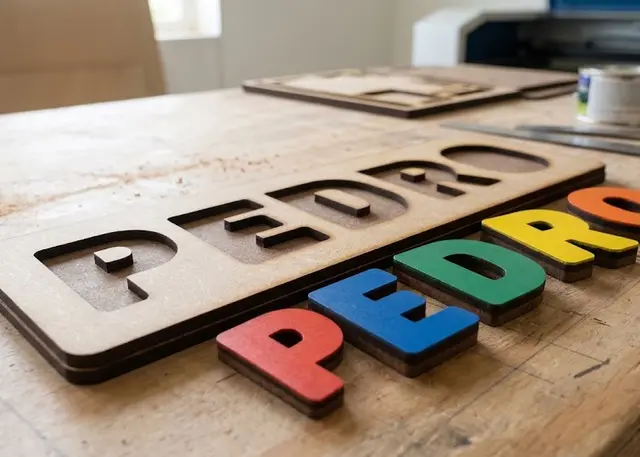 Name puzzle A board with the name cut out and every letter loose, to slot back in. It all comes out of one cut.