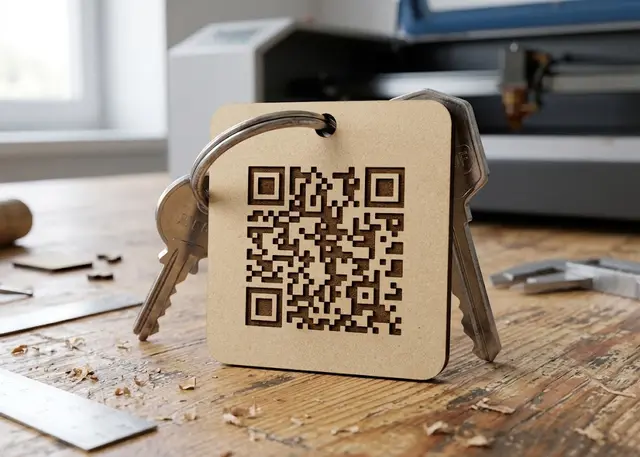
QR code keyring Pro
A QR code engraved on a square or round keyring, with the margin and module size it needs to actually scan.
Square or round, with a warning if the module came out too small for a camera to read.
Making it actually scan
The module size is what decides whether it works. Each little square has to be big enough for the laser to resolve and for the camera to tell apart from its neighbour. It depends on how much text you put in: a long address needs more modules, and on the same keyring each one comes out smaller. If it falls short, the template tells you what size to go up to.
The quiet zone is not decoration. It is four modules of clean material around the code, and without it the reader cannot find where it begins. It is always there and cannot be touched: that is why the split ring hole lives in the margin, which is separate.
If your engraving comes out lighter, tick "Inverted". On wood the engraving darkens and everything works by itself. On anodised aluminium or painted acrylic it is the other way round, and no phone will read a code in negative.
With an NFC chip it is three layers. The chip is not stuck on the outside: it lives inside. The middle one carries the recess it drops into and the back one covers it, so the keyring can be read with a camera — from the QR on the front — or by tapping it on a phone. The split ring hole goes through all three: if it only caught the cover, it would peel off at the first tug.
Test it with your phone before cutting the batch. Scan the preview on screen: if your camera reads it there, it will read the cut one even better. And cut one test piece in your material before making twenty. If it carries a chip, check the phone detects it with the three layers glued too: the wood does not get in the way, but the thickness can move it away from the reader.
Frequently asked questions
QR code keyring: what size can it be?
Every measurement is typed in millimetres and the drawing is redone as you type: size, from 15 to 300 mm, margin, from 0 to 60 mm and thickness, from 0.5 to 20 mm. Everything else — joints, dividers, holes — is worked out from those measurements.
Does it work for MDF, acrylic or plywood?
For any sheet your laser can cut: MDF, plywood, acrylic or thick card. What matters is the thickness, adjustable from 0.5 to 20 mm, and the kerf — what the beam eats away: the joints are drawn from those two numbers, so they push together without sanding.
What format does it download in?
SVG or DXF, your choice, in millimetres and at 1:1 scale. It opens as is in LightBurn, RDWorks, LaserGRBL, Inkscape, Illustrator or CorelDRAW, with nothing to scale or convert. Cutting and engraving come on separate named layers — “Cut” in red and “Engrave” in blue — so you set the power for each without separating anything by hand.
Do I have to pay to use it?
QR code keyring is free to use and adjust: you can see exactly how your design will come out before deciding anything. Downloading the file needs the Pro plan, or one of the trial downloads that come with the free account.
Others you might need
-
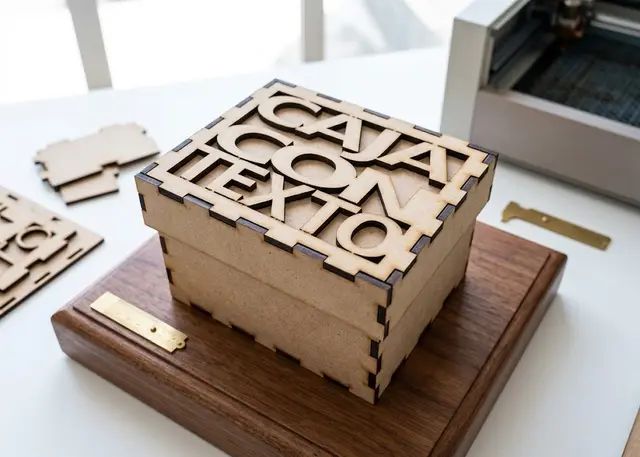 Finger joint box A made-to-measure box for laser cutting in MDF or acrylic, with an optional lid and dividers.
 -
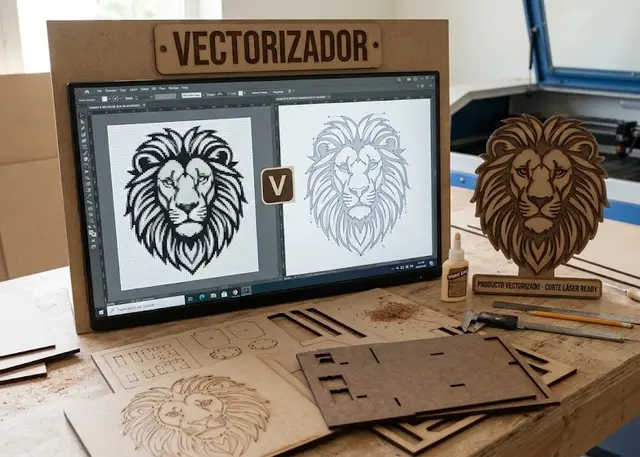 Vectorizer Turn a PNG or a JPG into an SVG ready to cut, at the size you need.
 -
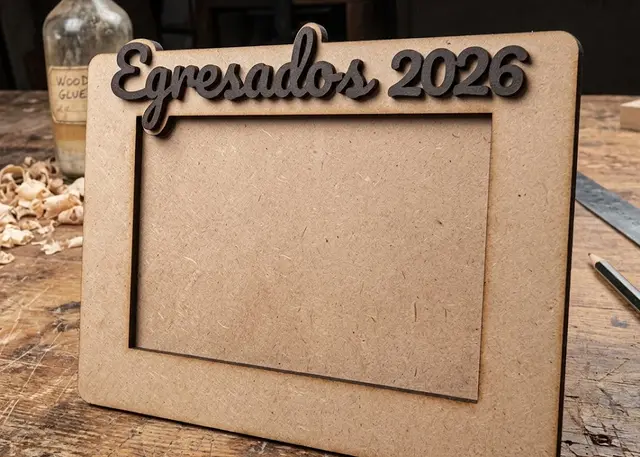 Photo frame A three-layer frame made to the size of your photo, with a slot to slide it in and a stand or holes to hang it.